
Projects
All Projects are added using the Posts feature of WordPress. To add a new project, navigate to Posts > Add New.
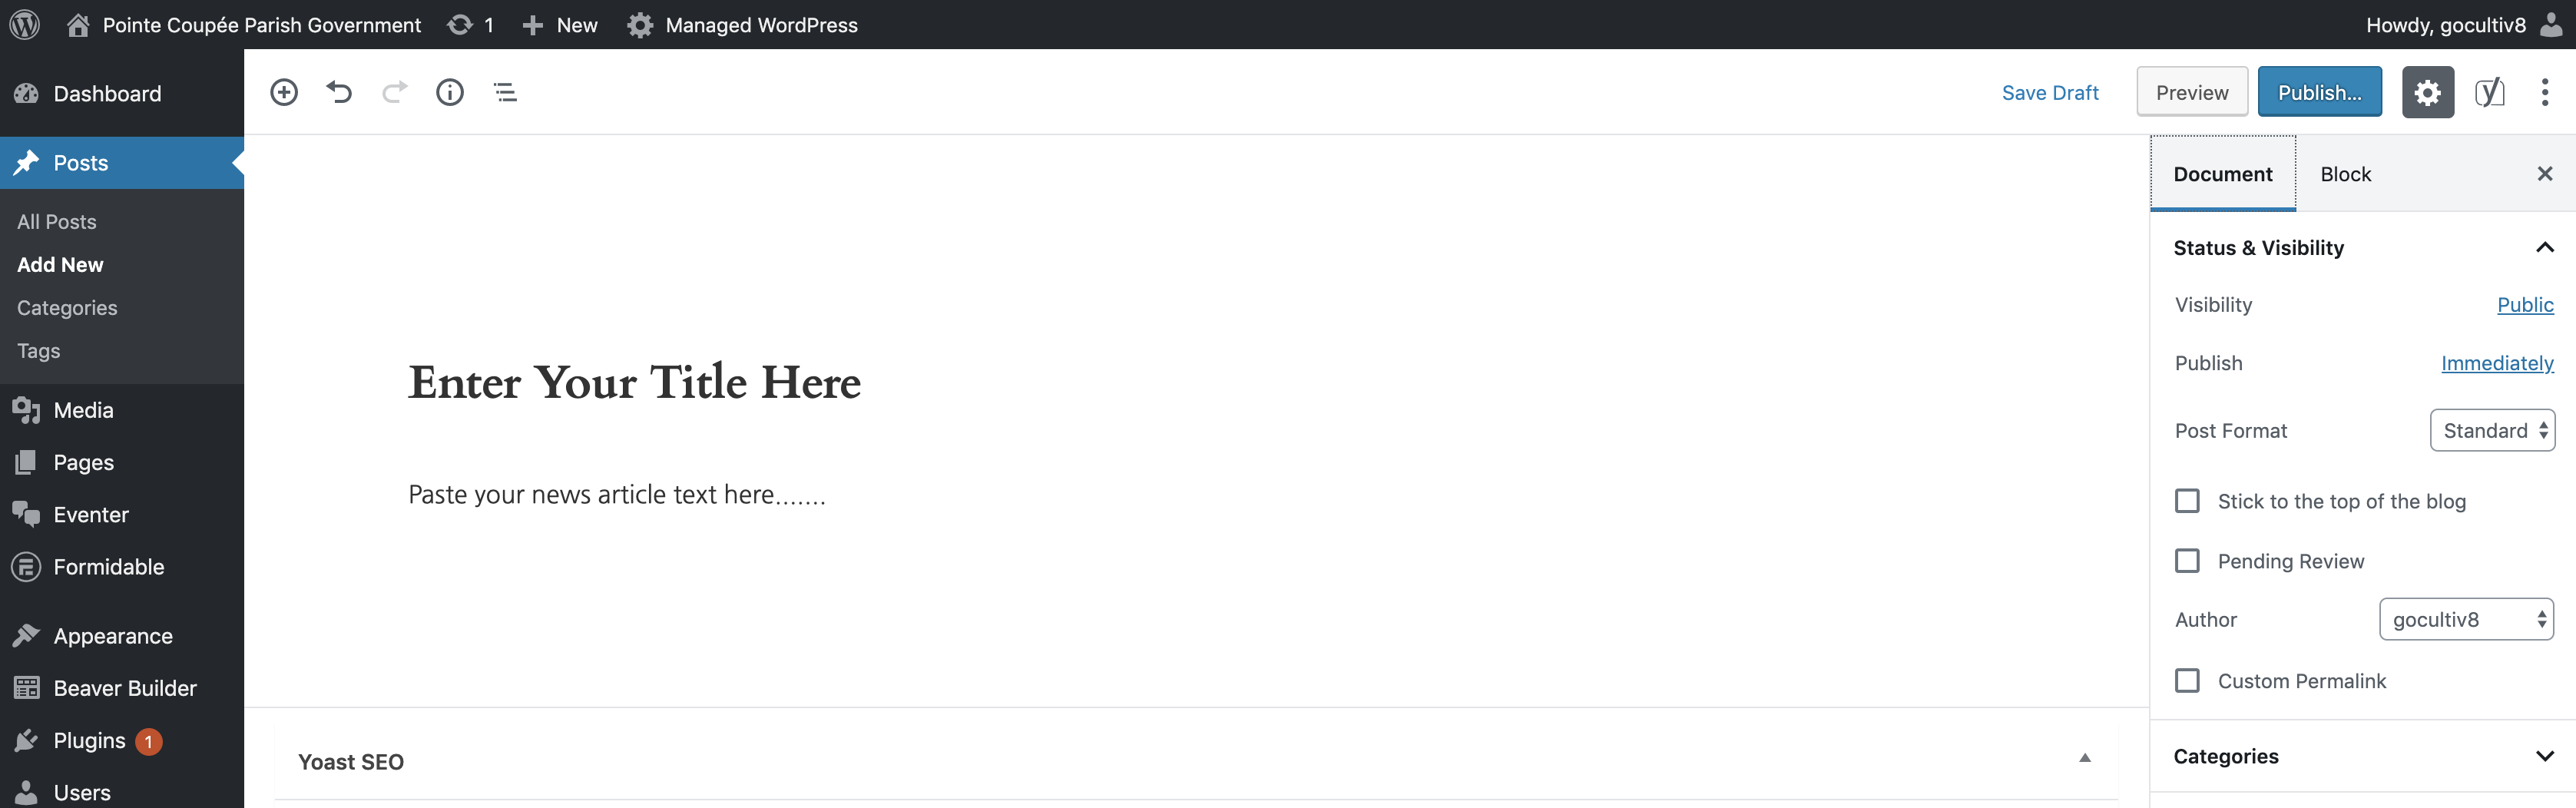
Add a Post:
From the post editor.
- Enter your Title
- Write or paste your text into the text editor section. This text can be as long or short as you choose, but we do recommend a minimum of 300 words.
- Next, add your featured project image. From the right-side menu locate the Featured Image section > click “Set Featured Image”. From the popup window, you can choose to upload a new image or select a previously uploaded image.

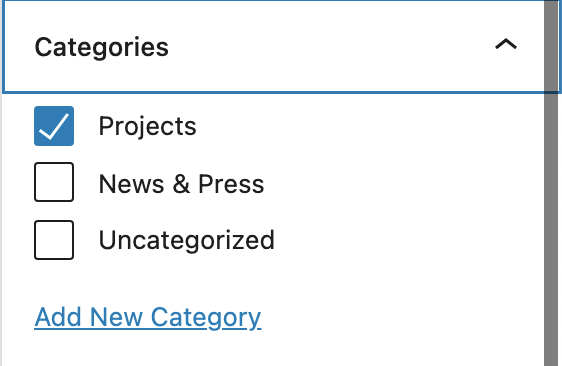
- Next, select the category for your new post. From the right-side menu locate the Categories section > click “Projects”.
- Once all your information has been added, click Publish to make your post visible to the public. *If you aren’t ready to Publish, click Save as Draft. Alternatively, you can set your post to be published on a specific day, by clicking the publish link/date (blue) and selecting a calendar date.
