Modules
Last Update: 2 December 2025There are many modules to choose from to build your page. However, there are a few select modules that we’ll be using most often for your site. See a quick clip below on how to make changes to those most used modules.
We’ll start with the basics though of how to find, select and add modules to your pages. Along with how to edit the module settings to get the design you want.
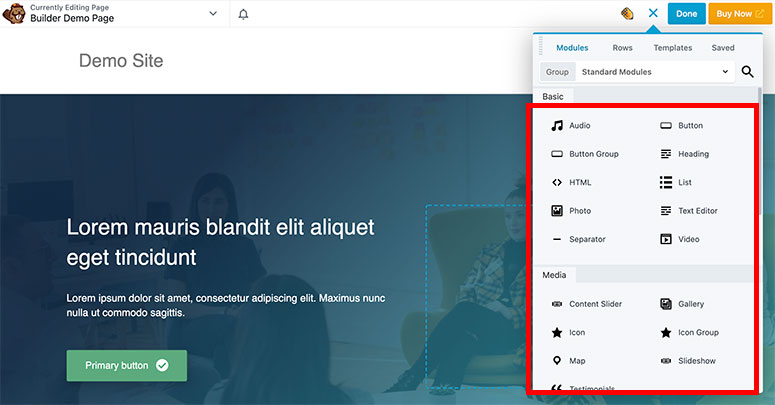
Add New Module
Start by clicking the + sign in the editor toolbar to open the modules dropdown. You can select a specific group of modules, search for a module to add to your page. To insert the module, click then drag-and-drop the module into the section on the page where you want to display it. You can move the module at any point by again with the drag-and-drop feature.
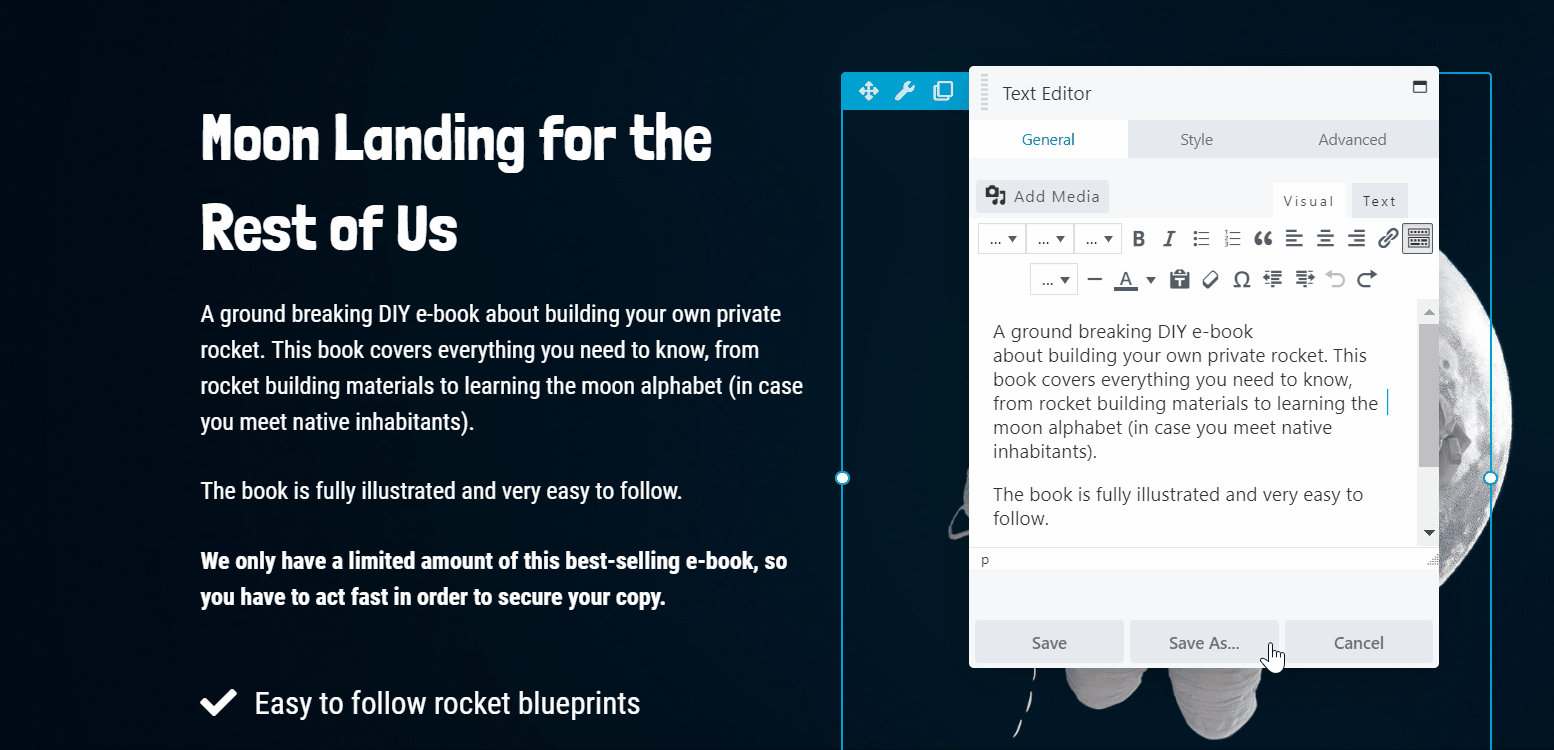
Once you’re module has been added you can now edit the module as desired. This includes updating the content, spacing, etc. Blue outline will appear has you run your cursor over a module, row, or column. Click the element to open the settings screen, as seen below.
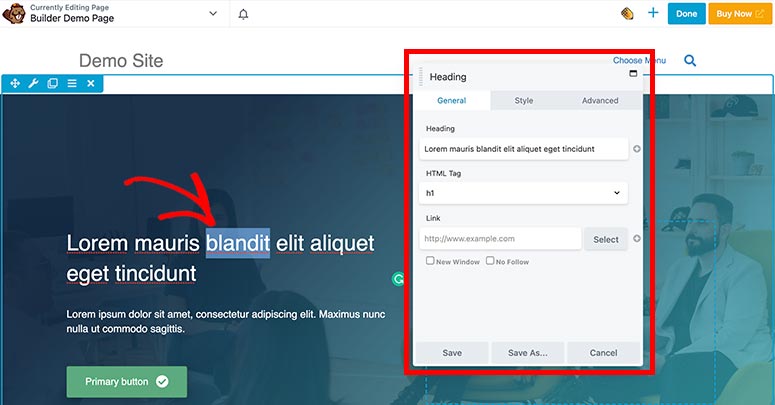
Changing Text
So, first things first. How do we change text in Beaver Builder? It’s super easy. Hover over the text, click, and edit in the pop-up text editor just the same as you would in any other text editor. Click save and your edits are ready to go!
Changing Images
Changing photos and images in Beaver Builder is equally easy. Just click on the photo, remove the old photo, and select a new one from your Media Library.
Changing a Link
To change a button link, you just need to click on the button and change the destination URL. If the link is within a block of text, it’s as simple as changing out the hyperlink the same way you would in any text editor, like MS Word or Google docs.
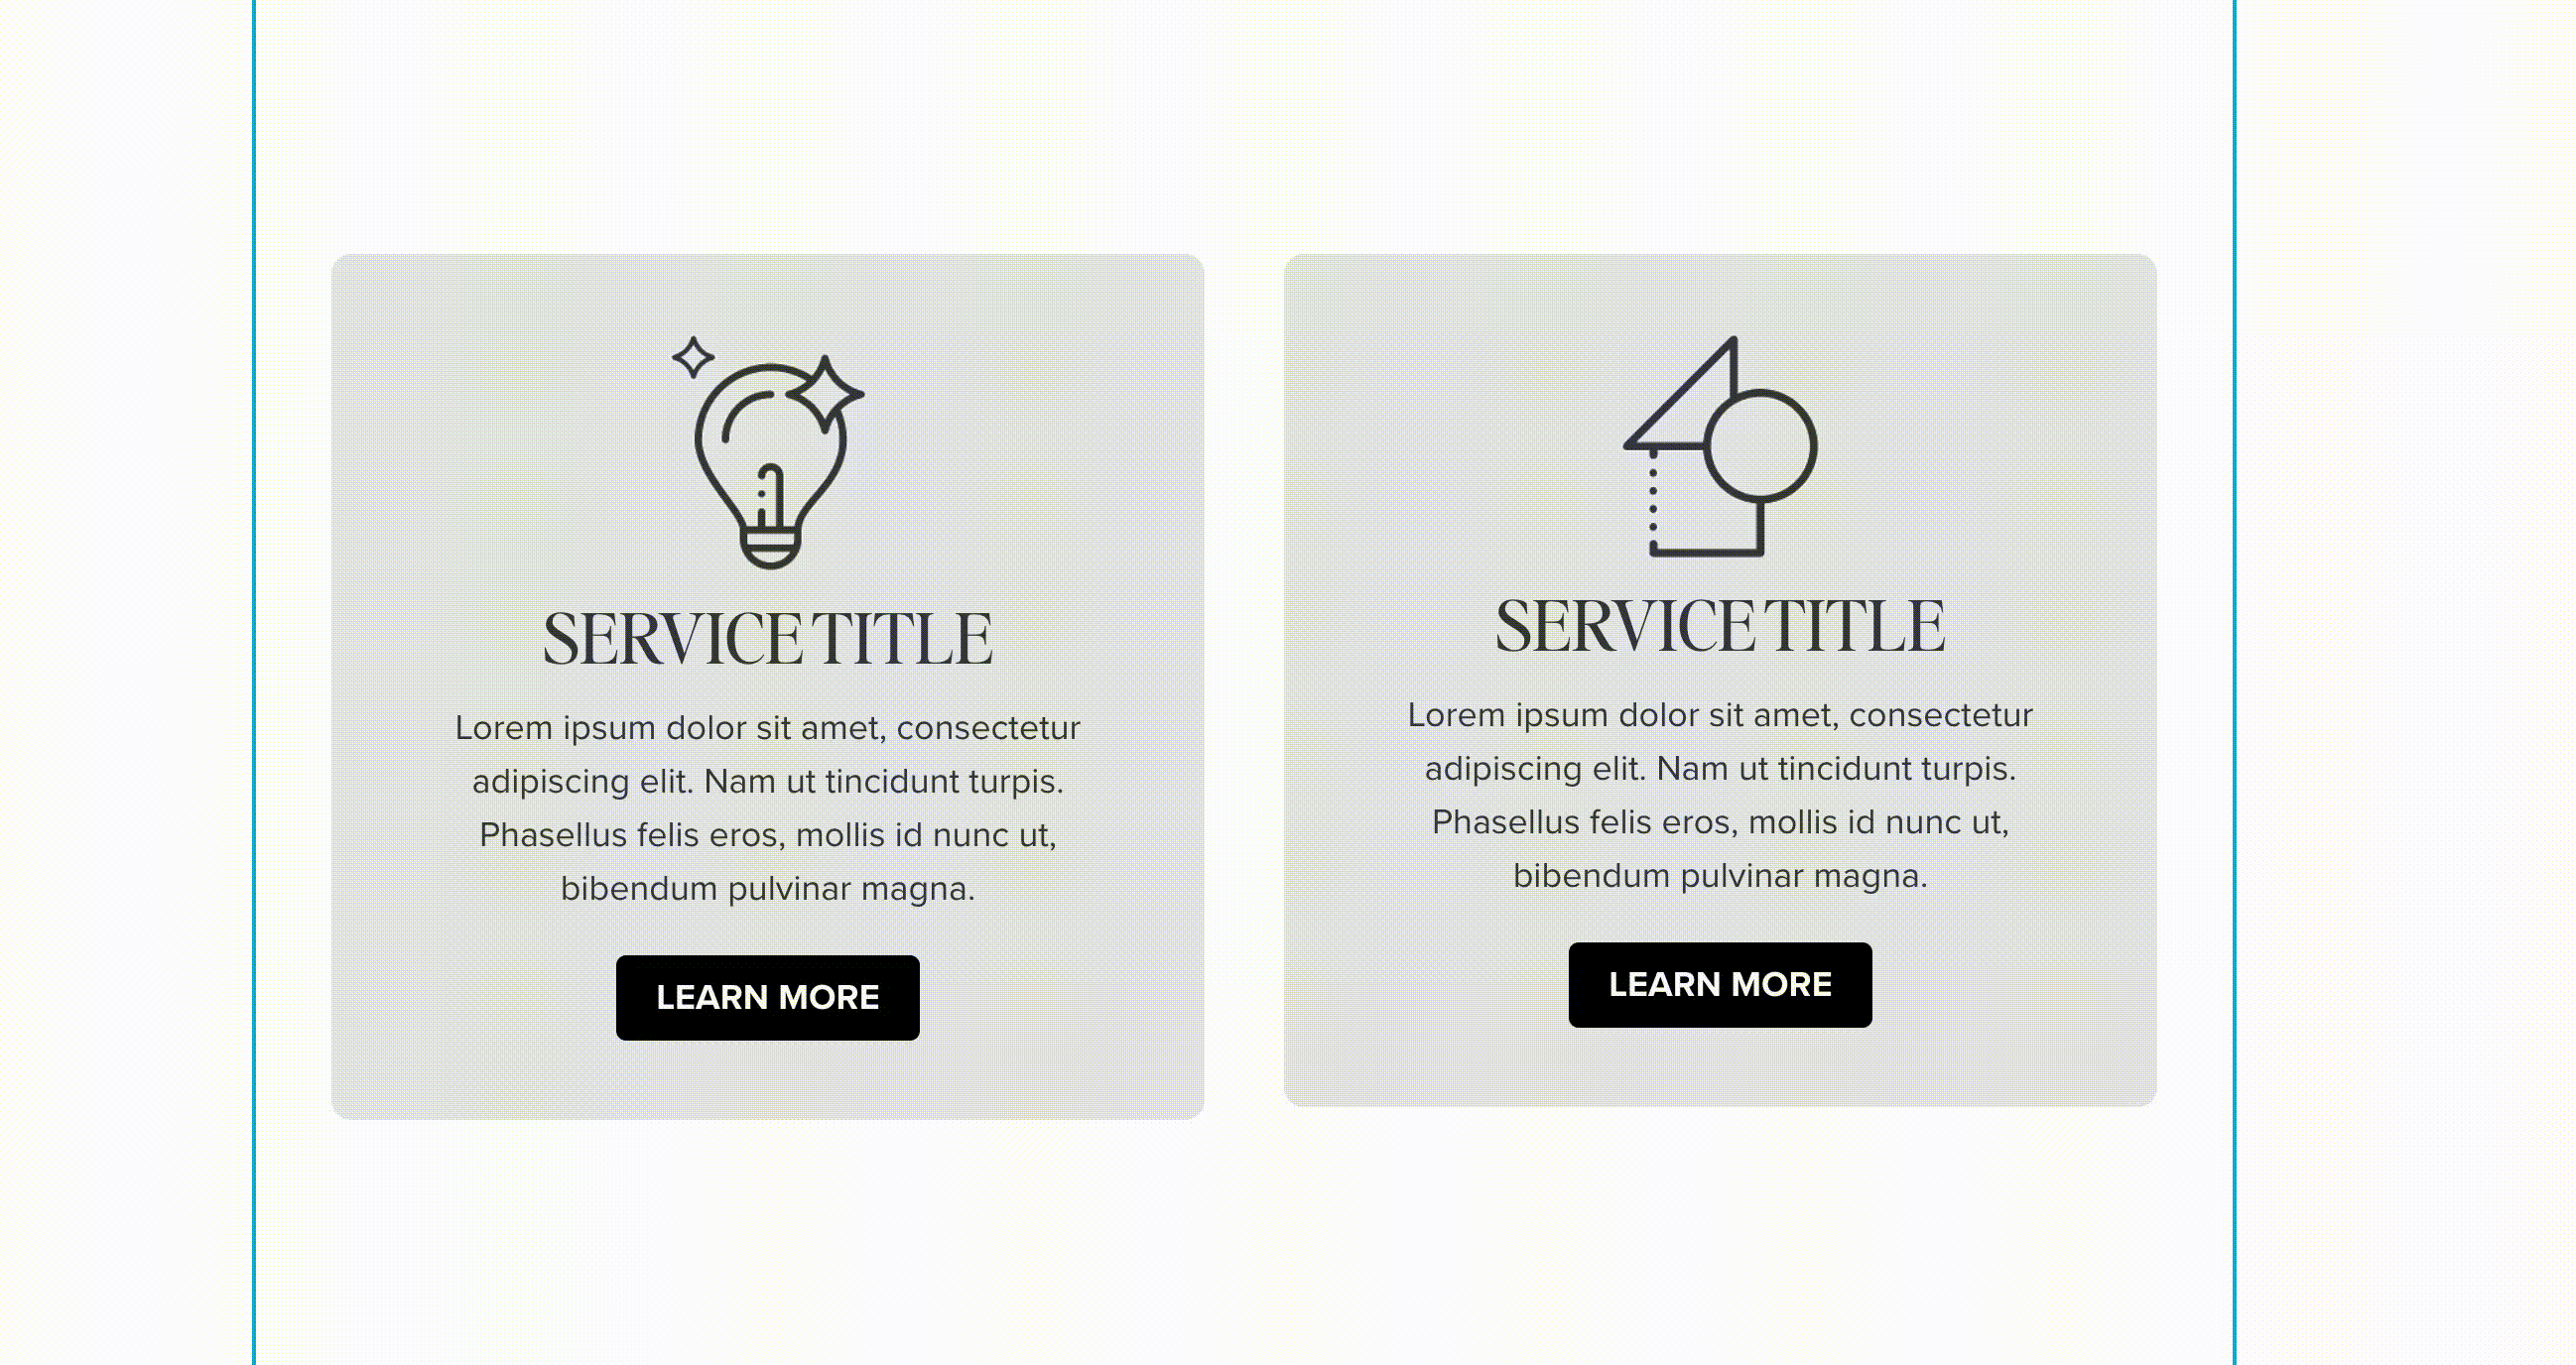
Changing an Info Box
Changing content in an infobox is simple. Click into the Info Box module, on the first tab you’ll see the image or icon (if applicable). If this does not apply to your module, skip to the next tab – the Content. Here you can update the Title and Description for the info box. Then navigate to the Link tab to update the button text and info box link (if applicable).